Your Home's Hidden Language: A Practical Guide to Finding Problems with an Entry-Level Thermal Imager
Update on Oct. 7, 2025, 8:06 a.m.
Your home is constantly talking. It whispers about the winter chill seeping through a window frame, murmurs about an overworked electrical outlet, and groans about a radiator struggling to push out heat. The problem is, it speaks in a language we can’t see: the language of heat. According to the U.S. Environmental Protection Agency, the average American household can spend hundreds of dollars each year on energy that is simply wasted through leaks and inefficiencies. These are invisible thieves, stealing your money and comfort.
What if you could learn to see this hidden language? What if you could pinpoint exactly where those thieves are hiding?
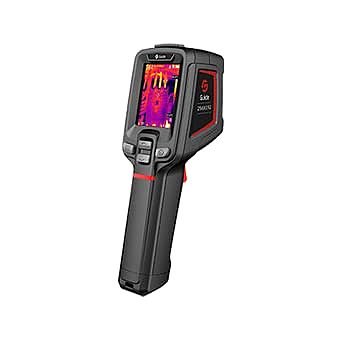
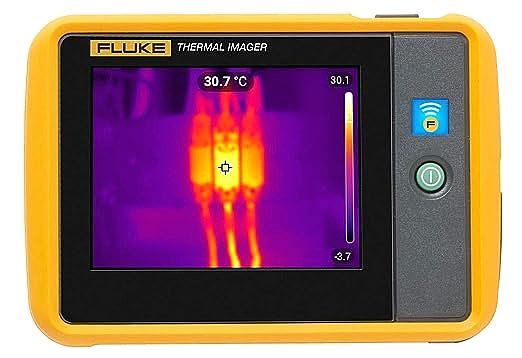
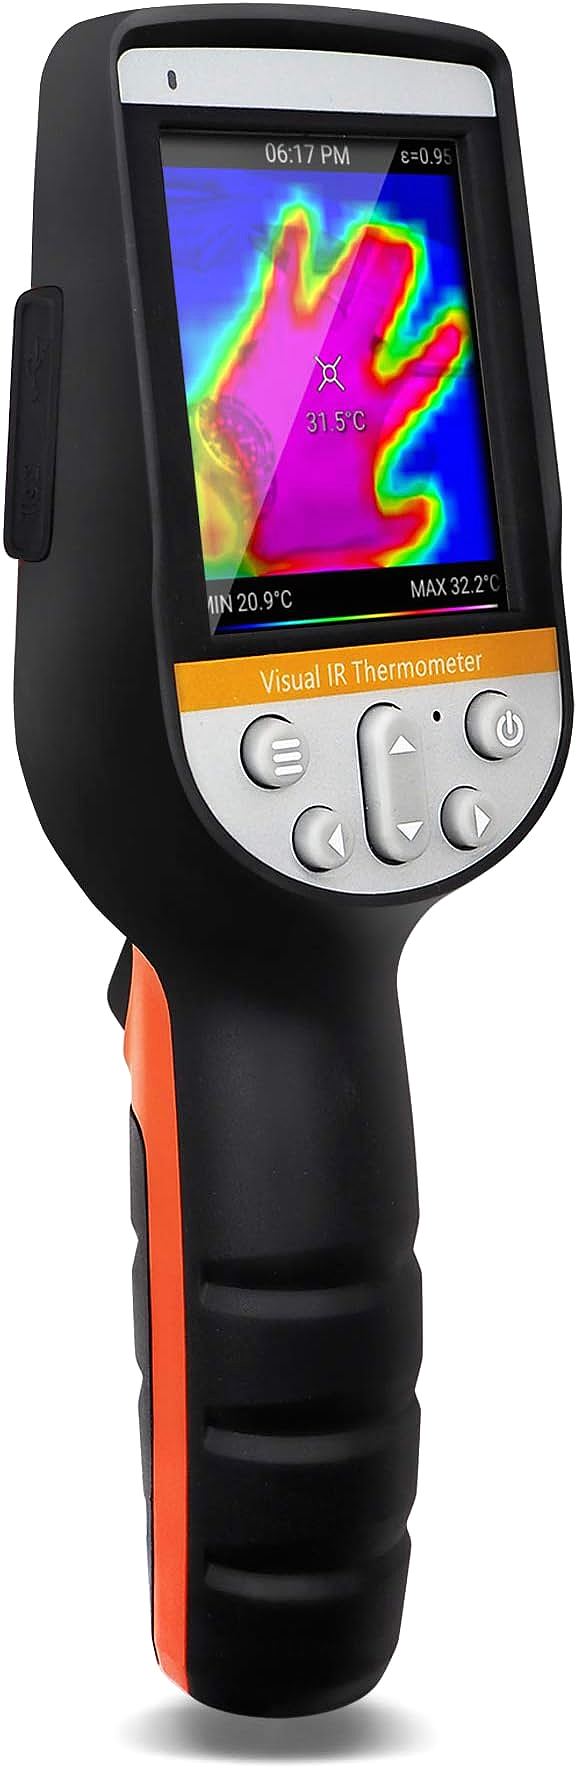
This guide is your Rosetta Stone. We’re going to explore how an affordable, entry-level thermal imager—a device often no larger than a TV remote—can become one of the most powerful diagnostic tools in your home maintenance arsenal. Forget the thousand-dollar professional models; we’re focusing on the accessible class of imagers (like the common HT-175 and its relatives) that bring this superpower to everyone. They are not magic wands that see through walls, but with a little knowledge, they can empower you to become a true “thermal detective,” able to diagnose problems you never knew you had.

The Basics of Speaking “Heat”
Before we start our first investigation, we need to learn the core rules of thermal language. Mastering these will be the difference between getting a clear confession from your home and a confusing muddle of colors.
The Golden Rule: You’re Seeing Temperature Differences
The first thing to understand is that the colorful image on the screen, called a thermogram, is not a literal picture of heat. It’s a map of temperature differences. Your camera’s job is to show you which spots are warmer or cooler relative to their surroundings. A bright yellow spot on an electrical panel isn’t alarming simply because it’s yellow; it’s alarming because it’s significantly warmer than the components next to it. This concept of “Delta-T” (the change in temperature) is your most important analytical tool. Always be asking: “Is this spot hotter or colder than it should be, compared to what’s around it?”
The Most Important Setting You’ve Never Heard Of: Emissivity
Here’s a puzzle: a cup of black coffee in a ceramic mug and a shiny stainless-steel thermos, both filled with the same hot liquid, will look dramatically different to a thermal camera. The mug will glow brightly, while the thermos might appear surprisingly cool. Why? The answer is emissivity.
Think of emissivity as a measure of how “honestly” an object broadcasts its heat energy. * High Emissivity (Dull, Matte Surfaces): Materials like wood, drywall, brick, and skin are very honest communicators. They are great at radiating their heat, so what the camera sees is very close to their true surface temperature. Their emissivity value is high, typically 0.90 to 0.98. * Low Emissivity (Shiny, Reflective Surfaces): Materials like polished metal, aluminum foil, or even glass are poor communicators. They act like thermal mirrors, reflecting the temperatures of other objects around them (including your own body heat!). Their emissivity value is low, often below 0.20.
Your thermal imager has an adjustable emissivity setting for this very reason. If you point it at a shiny pipe (low emissivity) but leave the setting on the default (often 0.95), you’ll get a wildly inaccurate, usually much colder, reading. Before you measure anything, ask yourself: is the surface shiny or dull? Adjust accordingly.
A Quick-Start Emissivity Guide:
| Material | Typical Emissivity | Recommended Setting |
|---|---|---|
| Drywall, Wood, Paint | 0.90 - 0.95 | 0.95 |
| Brick, Concrete | 0.92 - 0.96 | 0.95 |
| Glass (uncoated) | ~0.85 | 0.85 |
| Human Skin | ~0.98 | 0.98 |
| Polished Metal | < 0.20 | Don’t measure directly. |
Pro Tip for Shiny Surfaces: Never trust a direct reading from a very shiny object. Instead, stick a small piece of black electrical tape (which has a high, reliable emissivity of ~0.96) onto the surface. Let it sit for a minute to match the object’s temperature, then measure the tape. You’ll get a near-perfect reading.

Avoiding Rookie Mistakes: Reflections and False Positives
Before you rush off to hunt for ghosts in your walls, be aware of a few common traps. A thermal detective must learn to distinguish real clues from red herrings.
- The Reflection Trap: Low-emissivity surfaces like windows, tiles, or polished floors can reflect your own body heat or a warm light fixture, creating a “hot spot” that isn’t really there. If you see a suspicious spot on a shiny surface, move around. If the spot moves with you, it’s just a reflection.
- The “Not Enough Delta-T” Problem: To see a draft or an insulation gap clearly, you need a significant temperature difference (Delta-T) between inside and outside—at least 10°C (about 20°F) is ideal. Trying to find drafts on a mild day is like trying to find a black cat in a coal cellar.
- Forgetting Emissivity: We’ve covered it, but it’s the number one mistake. Always check your setting before making a critical judgment.
The Case of the Energy Ghosts: Finding Drafts and Insulation Gaps
The Scene: It’s a cold, windy day. The heating is on, but you still feel a chill. Your energy bill confirms your suspicions: your house is leaking expensive, warm air.
Traditional Methods: You might use your hand to feel for drafts or light an incense stick to watch the smoke. These methods work for obvious leaks but are useless for finding the subtle, hidden ones.
The Thermal Upgrade: With your thermal imager, you become a ghost hunter. Slowly scan the edges of your windows, doors, electrical outlets, and where the wall meets the floor and ceiling. You are looking for the tell-tale signs of air infiltration: dark, ghostly tendrils of blue or purple that indicate cold air seeping in. On a hot summer day with the AC on, the pattern will be reversed—you’ll be looking for warm, yellowish streaks.
 (Illustrative image placeholder)
Advanced Clue - Thermal Bridging: As you scan a large, plain wall, you might notice a faint, repeating pattern of vertical lines that are slightly cooler than the wall between them. You’ve just discovered “thermal bridging.” These are the wood or metal studs inside your wall. Because wood and especially metal are less effective insulators than the insulation between them, they act as bridges for heat to escape. While this is normal, a very pronounced pattern could indicate that your wall insulation is underperforming.
The Mystery of the Lukewarm Radiator: An HVAC Check-up
The Scene: A radiator is clanking away, but it’s only hot at the top and feels cool at the bottom. The room never seems to get properly warm.
The Thermal Investigation: Point your imager at the radiator. A healthy, functioning hot-water radiator should show a fairly uniform, bright glow from top to bottom. If you see a stark difference—a bright, hot top half fading to a dark, cool bottom half—you’ve found your culprit. This classic pattern is a sign of sludge buildup or trapped air preventing proper circulation. You now know exactly which radiator needs bleeding or flushing, without any guesswork.
The same principle applies to forced-air systems. You can scan ceiling vents to confirm that warm or cool air is actually being delivered, or check for leaky ductwork in your basement or attic, which will appear as distinct hot or cold spots on the ducts’ surface.

The Silent Hazard: A Precautionary Electrical Scan
<br>
<font color=’red’>⚠️ EXTREME CAUTION: ELECTRICAL HAZARD ⚠️</font>
This type of inspection should only be performed by individuals qualified and comfortable working around live electricity. Never remove the cover of a breaker panel if you are not trained to do so. Maintain a safe distance at all times. The goal is to find anomalies, not to get close.
<br>
The Principle: When electricity passes through a loose or corroded connection, it creates resistance, and that resistance generates heat. This is a primary cause of electrical fires. Your thermal imager can spot these overheating connections long before they become catastrophic failures.
The (Cautious) Method: Under a normal electrical load, a residential breaker panel should be uniformly cool or slightly warm. From a safe distance, with the panel cover removed by a qualified person, scan the breakers and connections. What you’re looking for is an outlier. A single breaker, wire, or connection terminal that is glowing significantly hotter than its identical neighbors is a major red flag. It doesn’t need to be 300°C; even a 10-20°C rise above the ambient temperature can indicate a serious problem that warrants immediate professional attention.
You can also use this technique for less intimidating targets. Scan your high-draw appliance plugs, power strips, and extension cords. They might feel warm to the touch, but a thermal imager will instantly show you if the heat is excessive or concentrated in a dangerous way.
You Are Now a Thermal Detective
You’ve learned the basics of a new language. You no longer have to guess where the draft is coming from, why a room is cold, or if an outlet is working too hard. By learning to see the world in terms of its temperature differences, you’ve gained a powerful new perspective.
This was never about a specific brand or model of camera. It’s about understanding the principles of thermography and applying them with a critical, detective’s mindset. You now know how to interpret the clues, avoid the red herrings, and use this accessible technology to make your home safer, more comfortable, and more energy-efficient. The hidden language of your home is no longer a mystery.