Spot the Spark Before the Fire: How Thermal Imaging Reveals Hidden Electrical Dangers
Update on Oct. 21, 2025, 6:30 p.m.
The most important warnings in life are often silent. We install smoke detectors to alert us to the presence of fire, but what if we could get a warning before the smoke? What if we could spot the conditions for a fire long before it ever has a chance to start? According to the National Fire Protection Association (NFPA), electrical failures or malfunctions are a leading cause of home fires in the U.S. Many of these incidents begin not with a bang, but with a slow, invisible build-up of heat.
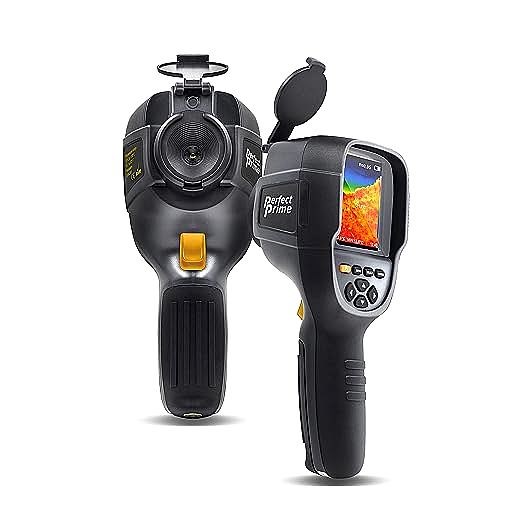
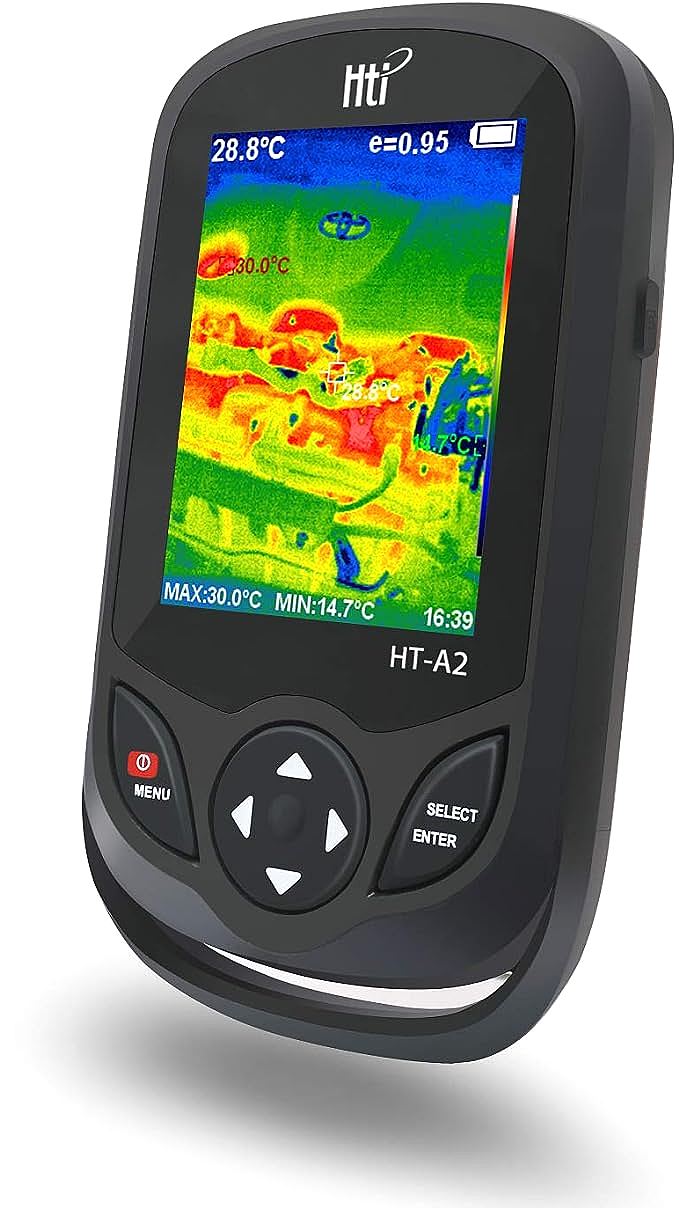
This is where thermal imaging comes in. A thermal camera acts like a non-contact thermometer for your entire electrical system, allowing you to see this dangerous heat. For a safety-conscious homeowner or an aspiring electrician, a portable thermal imager, like the Hti-Xintai HT-A1, is a powerful tool for preventative medicine. It helps you diagnose a “fever” in your electrical system before it becomes a full-blown emergency.

Why Heat is the Enemy: The “Fever” Principle of Electrical Systems
Before we start our inspection, it’s crucial to understand what we’re looking for. Why is heat the silent villain?
Imagine your home’s wiring as a multi-lane highway, and electricity as the traffic. When everything is working perfectly, the traffic flows smoothly. But a loose connection—say, a screw terminal on an outlet that isn’t tight enough—is like closing three out of four lanes on that highway. All the traffic (current) is forced to squeeze through a tiny bottleneck. This creates massive friction, which in an electrical circuit, is called resistance. And resistance creates heat. A lot of it.
This isn’t just a loose screw. An overloaded circuit, a failing circuit breaker, or a worn-out component can all create these high-resistance bottlenecks. Your thermal camera allows you to see the heat generated by this “electrical friction,” pinpointing the exact location of the problem.
Step 1: Your System’s Heart Exam - The Breaker Panel
Safety First: This is the most important rule. You will perform this check with the metal cover of the breaker panel ON and SECURED. Never attempt to remove the cover panel yourself. Your job is to be a screener, not a surgeon.
For the best results, your electrical system should be under a decent load. Don’t do this check when half the house is powered down. A good time is in the evening when lights are on, maybe the TV is running, and other appliances are in use. This ensures enough current is flowing to make potential problems visible.
- Stand back and aim your thermal camera at the closed breaker panel.
- Scan the entire surface. You’re looking for one thing: the outlier.
- Compare the breakers. All the circuit breakers should appear as cool, uniform rectangles. Some may be slightly warmer than others if they are powering active appliances, and that’s usually normal. What you are looking for is a breaker that is significantly hotter than its neighbors. It might glow a bright yellow or orange against a sea of cool blue.
A resolution of 220x160 pixels is more than enough to clearly distinguish individual breakers, allowing you to see if one specific unit is running dangerously hot. A hot breaker could indicate an overloaded circuit or, more seriously, that the breaker itself is failing and needs to be replaced.

Step 2: Checking the Nerve Endings - Outlets and Switches
Once we’ve checked the heart of the system, it’s time to examine the extremities. Point your thermal camera at electrical outlets, light switches, and especially dimmer switches on your walls.
- Normal vs. Abnormal Heat: Some devices, like light dimmers or phone chargers plugged into an outlet, will naturally generate some heat during operation. This will look like a soft, warm glow. This is the system’s “normal working temperature.”
- The Danger Sign: What you’re looking for is a hot spot that is concentrated, intense, and often located where the wires connect (at the screw terminals) or where the plugs make contact. If an outlet that has nothing plugged into it is warm, that’s a red flag. If the body of a switch feels hot to the touch and glows brightly on the camera, that indicates a problem inside.
Step 3: Reading the “Medical Report” and Taking Action
You’ve completed your scan and may have found a few areas that look warmer than others. Now comes the most critical part: the diagnosis and treatment plan.
- If you see a significantly hot circuit breaker: Do not ignore it. Take a clear thermal picture and a regular picture of the panel. Note which breaker it is. Call a licensed electrician. Explain what you’ve observed. A failing breaker is a serious fire hazard.
- If you see a hot outlet or switch: Unplug any devices from it immediately. Do not use it. Call a licensed electrician. A loose wire in an outlet is one of the most common causes of electrical fires.
- If everything looks cool and uniform: Congratulations. Your electrical system has passed its health check. Plan to repeat this inspection annually as part of your home maintenance routine.
A thermal camera does not make you an electrician. It makes you an incredibly effective safety monitor. It empowers you with information that was previously invisible, allowing you to provide a professional with a precise, data-driven starting point for their diagnostic work. You’re not just saying “I think there’s a problem”; you’re saying “There is an abnormal heat signature at this specific breaker.” That’s a game-changer. It’s the ultimate tool for proactive safety.