A Mentor's Guide to Upgrading Your Thermal Camera: Why 320x240 Resolution is the Spec That Matters
Update on Nov. 4, 2025, 6:44 p.m.
If you’re reading this, chances are you’ve tried an entry-level, dongle-style thermal camera. You were promised a “superpower”—the ability to see heat. Instead, you got a blurry, low-resolution “blob” of color that was almost impossible to interpret.
As one long-time enthusiast, James R. Brown, noted about his first thermal camera, “it was very difficult to work out what I was looking at.”
This is the club of frustrated first-adopters. You were also annoyed by the process: taking your phone out of its case, fumbling with the connector, launching an app, and hoping the latest iOS update didn’t break the software.
It’s not a tool; it’s a toy. And you’re ready to upgrade.
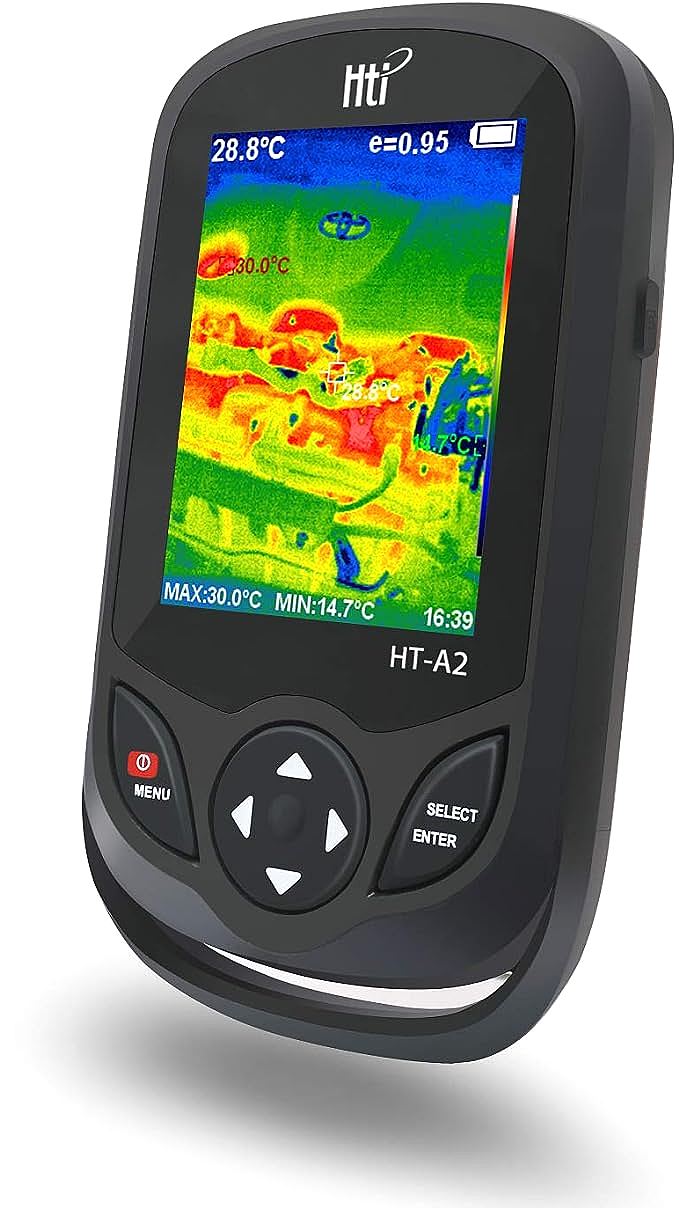
Welcome to the next level. As your mentor in this space, I’m going to teach you what actually matters in your next purchase. We’re going to use the Seek Thermal SQ-AAA ShotPRO as our classroom example, because it perfectly represents the “sweet spot” upgrade that separates the toys from the tools.
And here’s the first lesson: when you upgrade, you are not paying for bells and whistles. You are paying for one thing above all else: Resolution.

Lesson 1: The “Resolution Revolution” — Why 320x240 is the Magic Number
Let’s be clear: a high-resolution thermal sensor is an engineering marvel. Your first camera probably had a resolution of 80x60 (4,800 pixels) or maybe 206x156 (32,136 pixels).
The Seek ShotPRO has a 320x240 thermal sensor. That’s 76,800 pixels.
Why is this 2x to 16x jump in pixel count the single most important feature?
Because every pixel is an individual thermometer. More pixels mean you can “see” smaller problems from a safer distance.
- Low-Resolution (80x60): To inspect a hot breaker in a 200-amp panel, you might have to get dangerously close (a foot or two) just to get enough pixels on the target. The image is a vague, warm blob.
- High-Resolution (320x240): You can stand 10 feet back, capture the entire panel, and still see the one specific lug nut that’s 20 degrees hotter than the others.
As James R. Brown perfectly stated about his upgrade to the 320x240 ShotPRO, “I took a look around at various scenes and instantly could understand what I was looking at! The extra pixels… resulted in a HUGE improvement in scene recognition.”
This isn’t about a “prettier picture.” This is about diagnostic confidence. It’s the difference between telling a client, “Uh, this wall feels warm,” and “I’ve found a pinhole leak in your copper pipe between these two specific studs,” as one professional user did.
Lesson 2: The “Context” — What Is That Hot Spot, Anyway?
The second problem with cheap thermal cameras is that a thermal-only image is often just a confusing color map. You see a hot spot, but… what is it? Is it a light fixture? A water stain? A hidden junction box?
This is where Seek Fusion comes in.
The ShotPRO has two cameras: a thermal sensor and a regular visible-light camera. Seek Fusion is the technology that lays the thermal image on top of the visible image. You can use a slider to blend between the two.
This feature is non-negotiable. It provides context. * You don’t just see a hot blob; you see the outline of the electrical outlet that’s melting inside. * You don’t just see a cold streak; you see the seam of the window frame where the air is leaking.
This blending of visible and thermal data is what allows you to instantly “see exactly what you’re looking at” and pinpoint the problem, turning a 30-minute search into a 30-second diagnosis.

Lesson 3: The “Mentor’s Honest Talk” — Understanding Trade-Offs
Now, you’ll read reviews, and you’ll see people complain. “The screen is slow.” “It’s only 9Hz refresh.” “The image looks noisy.” “The interface is clunky.”
They are all correct. And as your mentor, I’m telling you that this is a good thing.
A high-resolution, high-sensitivity, uncooled microbolometer sensor is an exotic and expensive piece of technology. To get a 320x240 sensor into a standalone body at an affordable price, engineers have to make intelligent trade-offs.
- Why is it 9Hz (slow refresh)? This is a limitation of the sensor tech at this price, and also a U.S. export control. A >9Hz camera is often classified as military hardware. You are buying a diagnostic tool, not a video camera to film action movies. 9Hz is perfectly fine for scanning a wall.
- Why is the image “noisy”? As James R. Brown correctly pointed out, this is an engineering marvel. The sensor is detecting tiny temperature differences. “Clean” images come from cryogenically-cooled cameras that cost $50,000 and weigh 30 lbs. A little thermal “noise” is the sign of a highly sensitive sensor working at its limits.
- Why is the UI “clunky”? Because the money went where it belongs: the sensor. Would you rather have a lightning-fast, beautiful interface attached to a blurry 80x60 sensor? Or a slightly slow interface that controls a powerful 320x240 sensor? The pro chooses the sensor, every single time.
This tool is a tool. It’s built to find the problem, and its high-resolution sensor does that better than anything else in its class.
Bonus Lesson: Advanced “Pro-Hacks”
Because this tool has a high-quality sensor, it has unlocked a world of advanced “hacks” that users have discovered.
- The Emissivity Trick: One user,
EStuelke, noted a classic thermographer’s problem: you can’t get an accurate reading on a shiny surface. The solution? “Paint the surfaces with… flat black barbecue grill paint.” For a less permanent fix, a piece of black electrical tape works perfectly. Measure the tape, and you’re measuring the true temperature of the object beneath it. - The Macro Mod: User
Taylor P.needed to inspect tiny circuit boards. He “simply insert[ed] a 12mm diameter laser cutter focus lens into the front of the camera” and instantly had a macro thermal camera for electronics. This is only possible because the 320x240 sensor has enough pixels to resolve those tiny components. - The VLC Stream: The same user found the smartphone app “terrible,” but discovered you can connect a PC to the camera’s Wi-Fi and open a direct network stream in VLC player (
rtsp://192.168.100.1/stream0). This is the kind of advanced, open-secret capability that pros love.
Conclusion: From Toy to Tool
Let’s circle back to that homeowner, Sir Reginald, who saved his house from an electrical fire. He wasn’t a thermography expert. He was a person who bought the right tool. He didn’t have a blurry blob; he had a clear, 320x240 image of a specific outlet that was overheating.
That is the power of this upgrade.
Don’t be fooled by promises of snappy apps or marketing gimmicks. When you’re ready to move from a toy to a tool, you are paying for pixels. The 76,800 pixels in a 320x240 sensor, combined with the context of Seek Fusion and the convenience of a standalone body, are what give you the “sixth sense” to find that pinhole leak, that failing breaker, or that missing insulation. The Seek Thermal ShotPRO is the perfect example of a device that gets those fundamentals right.